A Step-by-Step Guide to Changing Your Seller Name in Amazon Seller Central
There are 2 different types of display names.
Type 1: Global Display Name
This is shown on the backend in seller central.

To change global display name:
- You must be logged in under the primary account.
- Go to sellercentral.amazon.com/account/management/ref
- Under the Accounts tab, click "rename" next to your current global display name.
- Enter your new name, then click save. Note: if your desired name is not available, you will be required to enter a different name
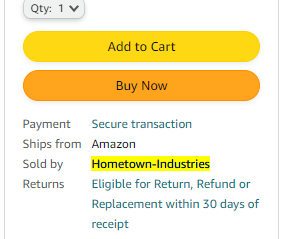
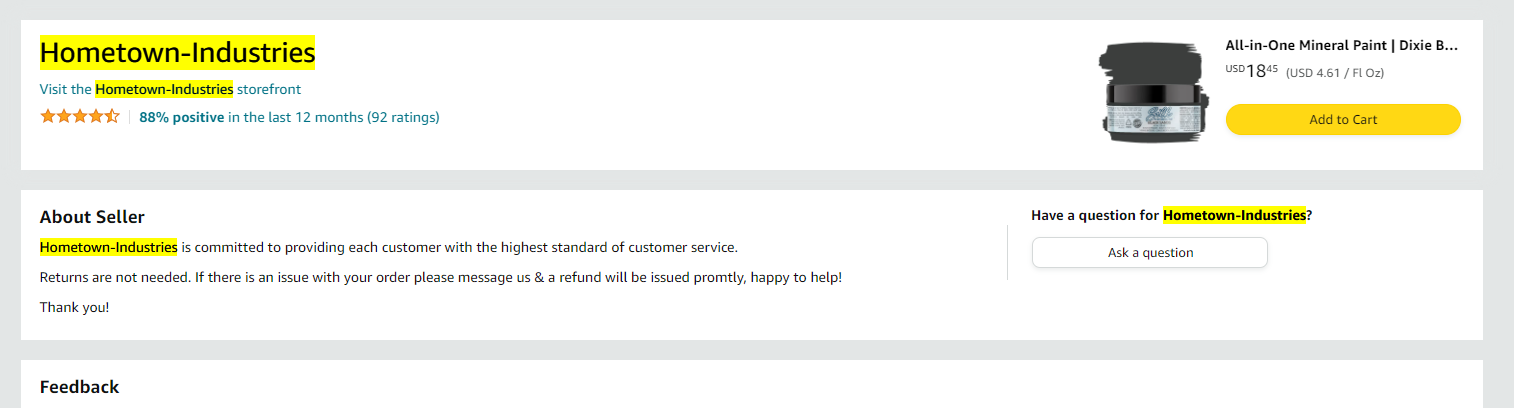
Type 2: Public Display Name
This is shown publicly on Amazon.com.
To change your public display name:
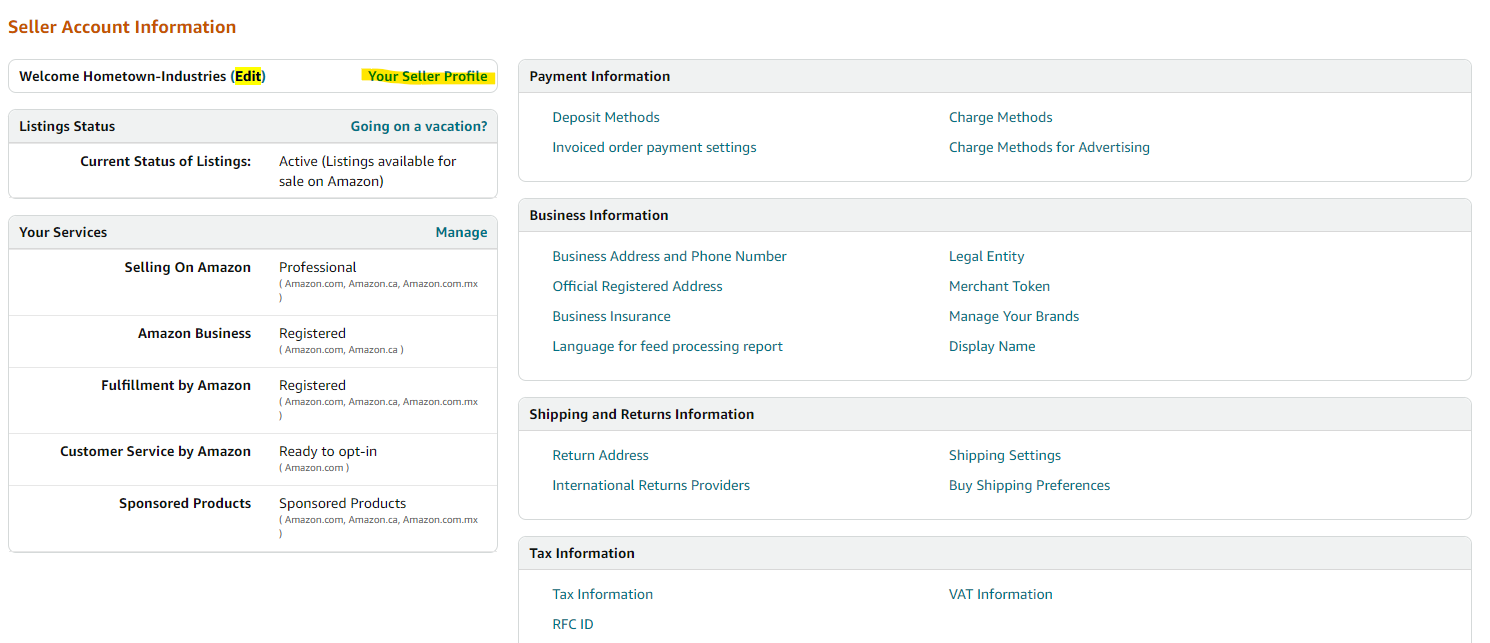
- Hover over the settings icon, then click "Account Info".

2. Click "Edit" or "Your Seller Profile"
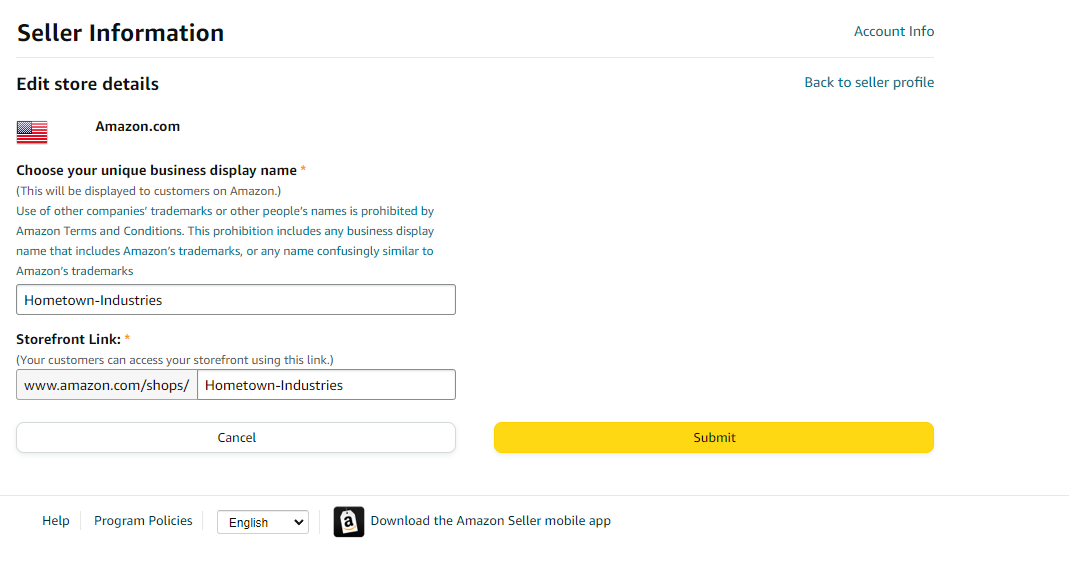
3. Click "Edit" next to store details. Note: You will have to do this for each marketplace that you sell in.
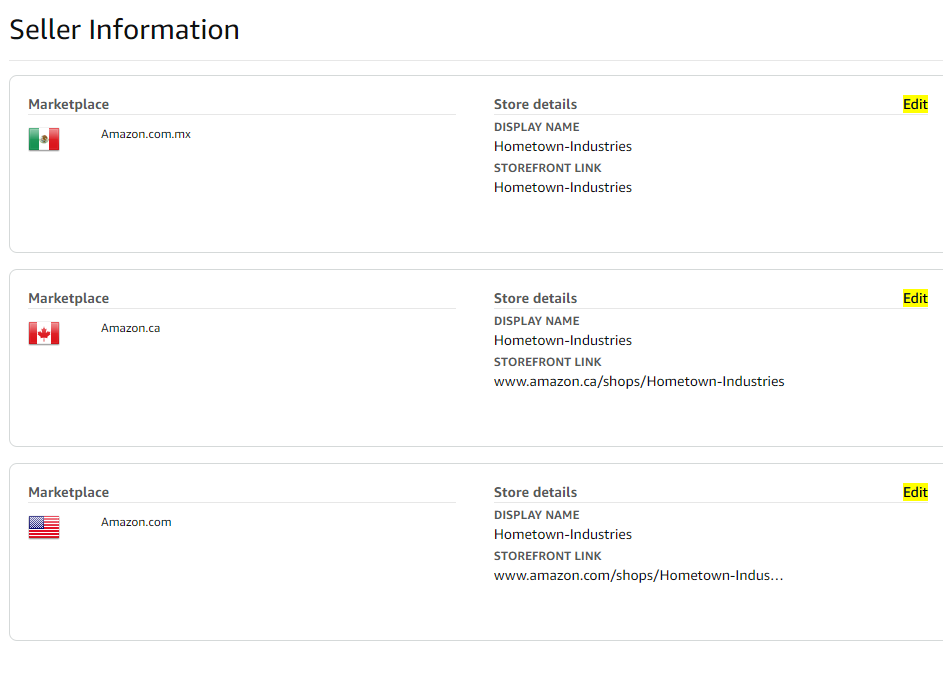
4. Enter the new information and click submit. Note: if your desired name is not available, you will be required to enter a different name